Pages

Tuesday, October 25, 2011

Toffee and Mocha Brownie Torte for Mom's Birthday


Happy Birthday Momma!!
My mumma is the most determined person I've seen.If you see the stuff she makes,you probably would'nt believe that she has never taken a class .She learned everything she knows by reading up from the internet or from books whenever she can.And although she may make this cake making business look easy,don't fall for it. There are a countless number of late nights and non-stop hours of endless work that she puts into it.And trust me, there is no shortage to the number of times our house has been converted into a full -fledged chocolate factory!!!
Mom's birthday was a few days ago and I was looking for a cake to make.I knew this was a chance to go all out ,so after browsing through a few of the regular baking blogs a stumbled upon this one and it was love at first sight :)What better way to celebrate Momma's birthday than this it's-so-big-it-looks-like-a-UFO cake!!!


WARNING: If you are on a diet,I highly suggest,that you don't read any further. I take absolutly no responsibility for if you lose every ounce of self control after this. Thank you.

It's not often that I get a chance to make a big ,fancy cake,call it a "torte" and make it sound even fancier :p

If there is one word that describes this cake it would probably be "outrageous".
This is probably the biggest, baddest cake I've ever made.
Although the combination of flavours is very cliche', you know, coffee-toffee-chocolate...It's been done a million times before, yet somehow, one little slice of this cake will make you believe that there really is a heaven :)
  Now, midway,during the making of this cake I had pretty much figured out that it was going to end up much, much bigger than I had expected, But Hey,you can't complain when there is too much of a good thing ,right?


If you're planning to make the toffee and mocha brownie torte, make sure you have atleast 20 people to feed. I've lost count of how many people got sent a piece of this cake on the days following mom's birthday.I'm sure they were'nt complaining though!!

Toffee and Mocha Brownie Torte

Ingredients:
For the brownies:
2 cups (4 sticks) unsalted butter
16 oz. bittersweet chocolate, coarsely chopped
3 cups sugar
8 large eggs
2 tbsp. vanilla extract
2½ cups all-purpose flour
½ tsp. salt


For the mocha frosting:

3 cups chilled heavy whipping cream
1/3 cup confectioners’ sugar
1 tsp. vanilla extract
2 tbsp. instant espresso powder dissolved in 2 tsp. boiling water, chilled


For the filling:
16 oz. mascarpone cheese/
2 tbsp. instant espresso powder dissolved in 2 tsp. boiling water
½ cup confectioners’ sugar
2 tsp. vanilla extract
Pinch of salt
1 cup reserved frosting (above)


For garnish:
2 cups chopped toffee bits or finely chopped toffee bars


Directions:

Step 1: Make the Brownie Layers!
  1. To make the brownie layers, preheat the oven to 350˚ F. Grease and flour the edges of three 9-inch round cake pans and line the bottoms with parchment paper. Combine the butter and chocolate in a large heatproof bowl set over a few inches of simmering water. Continue heating until the butter and chocolate are melted and smooth, stirring occasionally with a spatula. Remove the bowl from the heat and set aside. You can also melt them together in a microwave,but in intervals of 30 seconds or the chocolate will seize.
  2. Transfer the chocolate mixture to a large mixing bowl. (If your heatproof bowl is very large, transfer to a new bowl is not necessary.) Whisk in the sugar, eggs and vanilla extract until the mixture is smooth and glossy, about 1 minute. Stir in the flour and salt, and mix just until the dry ingredients are incorporated.
  3. Divide the batter evenly between the prepared baking pans. Gently smooth the batter in the pans. Bake 20-25 minutes, until the brownies are just firm to the touch. Transfer to a wire rack and let cool in the pans 30 minutes. Then run a knife around the edge of each pan and invert the brownies onto the rack to cool completely.


Step 2:Don't fidget with the brownies while they cool!!Make the frosting!!!
  1. To make the frosting, add the chilled heavy cream to the bowl of an electric mixer fitted with the whisk attachment. Whip on medium-high speed until medium-soft peaks form. Blend in the sugar, vanilla and espresso mixture, whipping just until combine. Continue to whip until stiff peaks form. Reserve and refrigerate 1 cup of the frosting for use in the filling. Set aside the rest of the frosting.


Step 3: You're almost there!!Make the filling:
  1. To make the filling, in the bowl of an electric mixer fitted with the paddle attachment, combine the mascarpone, espresso liquid, sugar, vanilla and salt. Beat on medium speed until well blended and fluffy, about 2 minutes. Gently fold in the reserved 1 cup of frosting with a spatula.
                                             OR
*Salted Toffee filling:
300 ml condensed milk
1/2 tsp salt
1 tsp butter
75 ml milk

You can use this as a filling instead of the above.
Cook the condensed milk on a low flame till it thickens and turns a rich caramel colour.Add in the salt and butter and cook for a few more minuter,stirring with a wooden spoon continuously.Ture off the flam, and add in the milk to thin it down slightly to make it easier to spread.


Step 4:Put it all together!!
  1. To assemble the torte, lay 1 of the brownie rounds to a large serving platter. Spread half of the filling mixture evenly over the top(or the salted Teffee filling,if you are using that.)Layer with another brownie round, and the remainder of the filling(If you are using the salted toffee filling,then use the mocha frosting as a layer for this stage) Top with the final brownie layer. Cover the top and sides of the cake with the mocha frosting. Garnish with the toffee bits to cover the top and sides of the cake. Use any remaining frosting to pipe decorative swirls around the top edge of the cake, if desired. Refrigerate until ready to serve.


There are a lot of variations you could use like white chocolate and cranberry or mint ,orange etc. the possibilities are endless.Also, you can warm the slice of cake slightly in a microwave before eating it,if you'd like.Just don't warm it up too much or the cream may split!!!


         Oh,and if you do make this cake,say thank you and send me a slice :P

Sunday, September 25, 2011

Nothing but lazy....


                  Sundays Afternoons at home are always,always lazy.


Everything seems to move a little slower on Sunday mornings and no matter how much you want to you rear end always seems to be glued to the sofa like those teenagers you see at house parties in one of those
Sundays for me are usually my “ mad-scientist” days.

I put on an apron and cook/bake/make-sure-the-kitchen-is-covered-in-flour-and-butter to my hearts content.

I need to plan what to make in such a way that I get done by around 12 pm (that’s when the maid comes to wash the vessels!) or at around 2 pm(since I need to get a few snaps and the natural light is best at those times :) )

..And you thought all I did was bake and hog. HA!

Well anyway, I’ve hit a little bit of a bread making spree over the past few weeks ,and burger buns were one of the results :)

I have to say there are very few things that make me as happy as homemade baked bread.With a big chunk of butter.

Just a word of advice,You might want to wait for a few minutes once the bread is out of the oven to “taste” it.Otherwise, you will probably end up with a very damaged roof of your mouth.

Just saying.

:/
                                 
    Btw, Hamburger can be a descriptive noun in German,referring to someone from Hamburg,Germany.(like London --> Londoner) or an adjective describing something from Hamburg!!

Did you know that before just now!?!?!

They asked us that at an interview!!

Pretty cool,eh?


                                                    Drool away!!

Saturday, August 27, 2011

Stuffed bread bites

Bread.
Little fluffy pieces of happiness .
Making bread is therapeutic.
Plus it makes me extremely happy because the dough gets so soft once you ferment it,it reminds me of my little baby nephew whom I miss a little more everyday :(
Anyway if you have a stand mixer,this bread is super easy, and it makes you look like a genius without having to do any work at all :)
If you don't have a stand mixer, it's pretty darn easy too!!
Plus  you know when they tell you to eat small bite-sized portions when you're (supposedly) on a diet?
Well, hey!! look ! all you gotta do is pull off a tiny little piece and pop it in :)
Although you might end up eating the whole tray,which ermmmm ...might not really be good for that diet, so be careful :)


Here is the recipe:

 STUFFED BREAD BITES:

Makes about 18 bites.
For the bread:
Flour     500 gms
Yeast   20gms
Sugar   20gms
Butter   20gms
Salt      10gms
Water   300 ml approx.

Stuffing:
 You can pretty much use anything you like,I've  used a vegetarian filling :)
Onion                      30gms
Garlic                       30gms
Paneer                     150gms
Boiled potato chunks100gms
Turmeric                   10gms
Salt                           to taste
Chilli powder            5gms
Lime juice                 5-10ml

Method:


  • Make a well in the center of the flour and crumble in the yeast and sugar .Add a little water to dissolve them and begin mixing it with the flour.
  • Continue adding water to form a soft dough and keep kneading for about 5 minutes.
  • Mix together the butter and the salt and knead it into the dough. until it it soft and smooth.
  • *If you are using a stand mixer,first add in the flour,sugar and yeast and being adding water while the mixer is on till the dough is soft.Then add in the butter and salt and allow to mix again.
  • Once this is done,round it up and allow it to rest under a clean,damp cloth.Allow ample space for it to ferment.( ok, so this is the part where it feels like a baby's bottom :) )) 
  • Meanwhile,Prepare the filling. Heat the oil and add the chopped onion and garlic.Lightly saute it. Add in the turmeric and chilli powder and lightly fry it. Next, add in the paneer and boiled potatoes and stir it for 1-2 min.Sprinkle the mixture with lime juice.
  • Once it has doubled in size (about 30-45 min) sprinkle some dusting flour on a clean work surface and turn the dough over on it. Divide it into small portions (35 gms each) and flatten it into a circle. Place a small portion of the filling on the dough. (and pack it up like a little money bag :) I can't really think of a better description
  • Place the open part on the bottom. Be sure to seal em' nice and tight because otherwise they will open up when the ferment again :) Continue for the rest of the portions.
  • Place all the portions in a round baking tray leaving very little space between each. and allow to ferment once more. They'll begin to stick to each other as they ferment. DONT FREAK OUT. That is exactly what we want :) keep it covered with a damp cloth and let it ferment for another 30 min.
  • Place the tray in a preheated oven at 200" C and bake for 15 -20 min till the top is a nice golden brown colour.
  • :)
  • Once its done, Take out the tray and brush the top with melted butter :) 
  • TA-DAH!!!


                                              Tastes best on a rainy afternoon in front of the T.V

Wednesday, August 10, 2011

Dear Triple chocolate Mousse cake


Dear triple chocolate mousse cake,

Let me just tell you,
You.are.one finnnnne cake.
I know maybe you aren't the prettiest and you may have a few bumps and bruises,but hey,it's whats on the inside that counts,right?
Now,I know that sometimes people might say you're too rich ,but ignore them.
They would'nt  know a good thing if it smacked them in the face.

There is just something about you that makes everyone want just a little more.
"Just a tiny little bite",you make them say.How much could it hurt,eh?
And before they know it they've gobbled up nearly half of you and all plans of fitting into those jeans are gone out the window.
I bet you're smirking now.

The moment you entered the room, all the boys were fighting over you.
Don't think I didn't notice.
They made eyes and could'nt seem to get enough of you.
Ha! Not like I care anyway :P
I just wanted to let you know that you were totally worth the trouble.
:)

Love,
Ayesha


Saturday, August 06, 2011

# ?!!? I forgot where I left off....

Last saturday I finally got around to making the caramel brownies and they were definately worth it.
Plus I figured a supereasy way to make the center caramel filling without going through all the hassle of making a sauce :)
Cooked condensed milk.
Believe me,You will not regret it.
Note of caution: Make sure there is'nt a spoon lying within your reach or all of it will be over before you know it!!
Also,just because there is'nt a spoon,DO NOT try and dip your finger in for a taste.its pretty darn hot.
Ofcourse,Thats not me talking out of experience.
Really.

 Here is the link to the recipe:)
                                    

Friday, July 29, 2011

#8 Goodmorning sunshine!!!! and Caramel Brownies

Let me tell you about a little train ride I take every morning.
'Train ride' would be putting it mildly,sugarcoating it.
Lets be honest,you and me both know its nothing short of the russian circus.
Before you think I'm being a drama queen,let me show you how I figured this out:
1.Elephant in shiny outfit+clown+that lady who squeezes herself into a little box=circus
2.Big lady dressed in blindingly(is that even a word?)sequined outfit+clown who won't shut up+Annoying lady who thinks she can fit everywhere=morning train
See,there is clearly a pattern here.
And what is the deal with climbing on top of each other to rush in as soon as the train pulls in?
I mean it's going to STOP.
Did they not tell you that?

Now how do you put up with going through that every single day?
Why, you make brownies on the weekend,of course!!

Hopefully I'll get a chance to try out this recipe :)
Now,pray,that you've been nice to me lately :)

Caramel Brownies
Annies Eats
Yield: 24+ brownies
Ingredients:
For the brownies:
1 cup (2 sticks) unsalted butter
12 oz. bittersweet chocolate, coarsely chopped
1½ cups sugar
4 large eggs
1 tbsp. vanilla extract
1¼ cups all-purpose flour
½ tsp. salt
1½ cups pecan, coarsely chopped (optional)
1 cup semisweet chocolate chips
For the caramel filling:
14 oz. caramel candies, unwrapped
1/3 cup heavy cream
Directions:
Preheat the oven to 350˚ F.  Line a 9×13-inch baking pan with foil and grease the foil well with butter or cooking spray.  Combine the butter and chocolate in a heatproof bowl set over a pan of simmering water.  Heat, stirring occasionally, until completely melted and smooth.  (Alternatively, microwave in 30 second intervals, stirring in between, until completely melted.)  Remove the bowl from the heat.  Whisk in the sugar, eggs and vanilla until incorporated.  Stir in the flour and salt just until combined.  Spread about half of the brownie batter in the bottom of the prepared pan in an even layer.  Bake for 20 minutes.  Remove from the oven, maintaining the oven temperature, and let cool for 20 minutes.
Meanwhile, add the chopped pecans (if using) to a medium skillet over medium heat.  Toast, stirring occasionally, until fragrant and light golden brown.  Remove from the heat and set aside.  To make the caramel filling, combine the caramel candies and cream in a medium saucepan over medium-low heat.  Heat, stirring frequently, until melted and smooth.  Stir in half of the pecans.  Immediately spread the caramel mixture over the bottom brownie layer.  Pour the remaining brownie batter over the caramel layer, taking care to pour and spread it evenly otherwise it will be difficult to spread evenly over the caramel layer.  Sprinkle the chocolate chips and the remaining pecans on top of the final brownie layer.  Bake for 20 minutes.  Transfer to a wire rack and let cool completely before slicing and serving.  (To speed cooling, chill in the freezer for at least 30 minutes.)
Lift the brownies from the pan using the edges of the foil.  Remove the foil and cut the brownies into individual squares.  Store in an airtight container.

Friday, July 22, 2011

#9- Iceream and inspiration.

Heres the deal: For our research topic this year,we've picked icecream and sorbet.
Yes.
You heard me right.
I go to a cool college.Where I can cook all day long.
And not take boring economics notes :P
Or have to study the molecular composition of that calcium hexa-tetra-ethylene-cloride thingy.
Or study how cockroaches mate.
You know that sort of thing.
So,as I was saying, icecream. Yes.
The basic idea of our research is to try and come up with unusual flavours and different combinations and see how feasible they are in today's market.
Thats just a fancy way of saying, we make some icecream. 
People ooh and aah over it and decide if it's good enough.
Any suggestions?
If we decide to use it,I promise I'll and let you taste some:)
Maybe we can sell it to Baskin Robbins,Then my soup-serving days will be over.
Or maybe it'll backfire and then I'll let you take the whole tub of icecream home .
:)
Hey,the world is full of possibilities right?


And since I'm asking for Iceream,I might as well share some of my favourites with you :)

Pinacolada icecream!!!!!
Honestly, I tried this icecream because I was curious. Would combining an icecream and sorbet really work?
It was like yummy yummtown:)

PiƱa Colada Ice Cream
Yield: about 1 quart
Ingredients:
For the toasted coconut ice cream:
1 cup dried shredded coconut, preferably unsweetened
1 cup whole milk
2 cups heavy cream, divided
¾ cup sugar
Pinch of salt
1 vanilla bean, split in half lengthwise
5 large egg yolks
1 tbsp. light rum (optional) or ½ tsp. vanilla extract
For the pineapple sorbet:
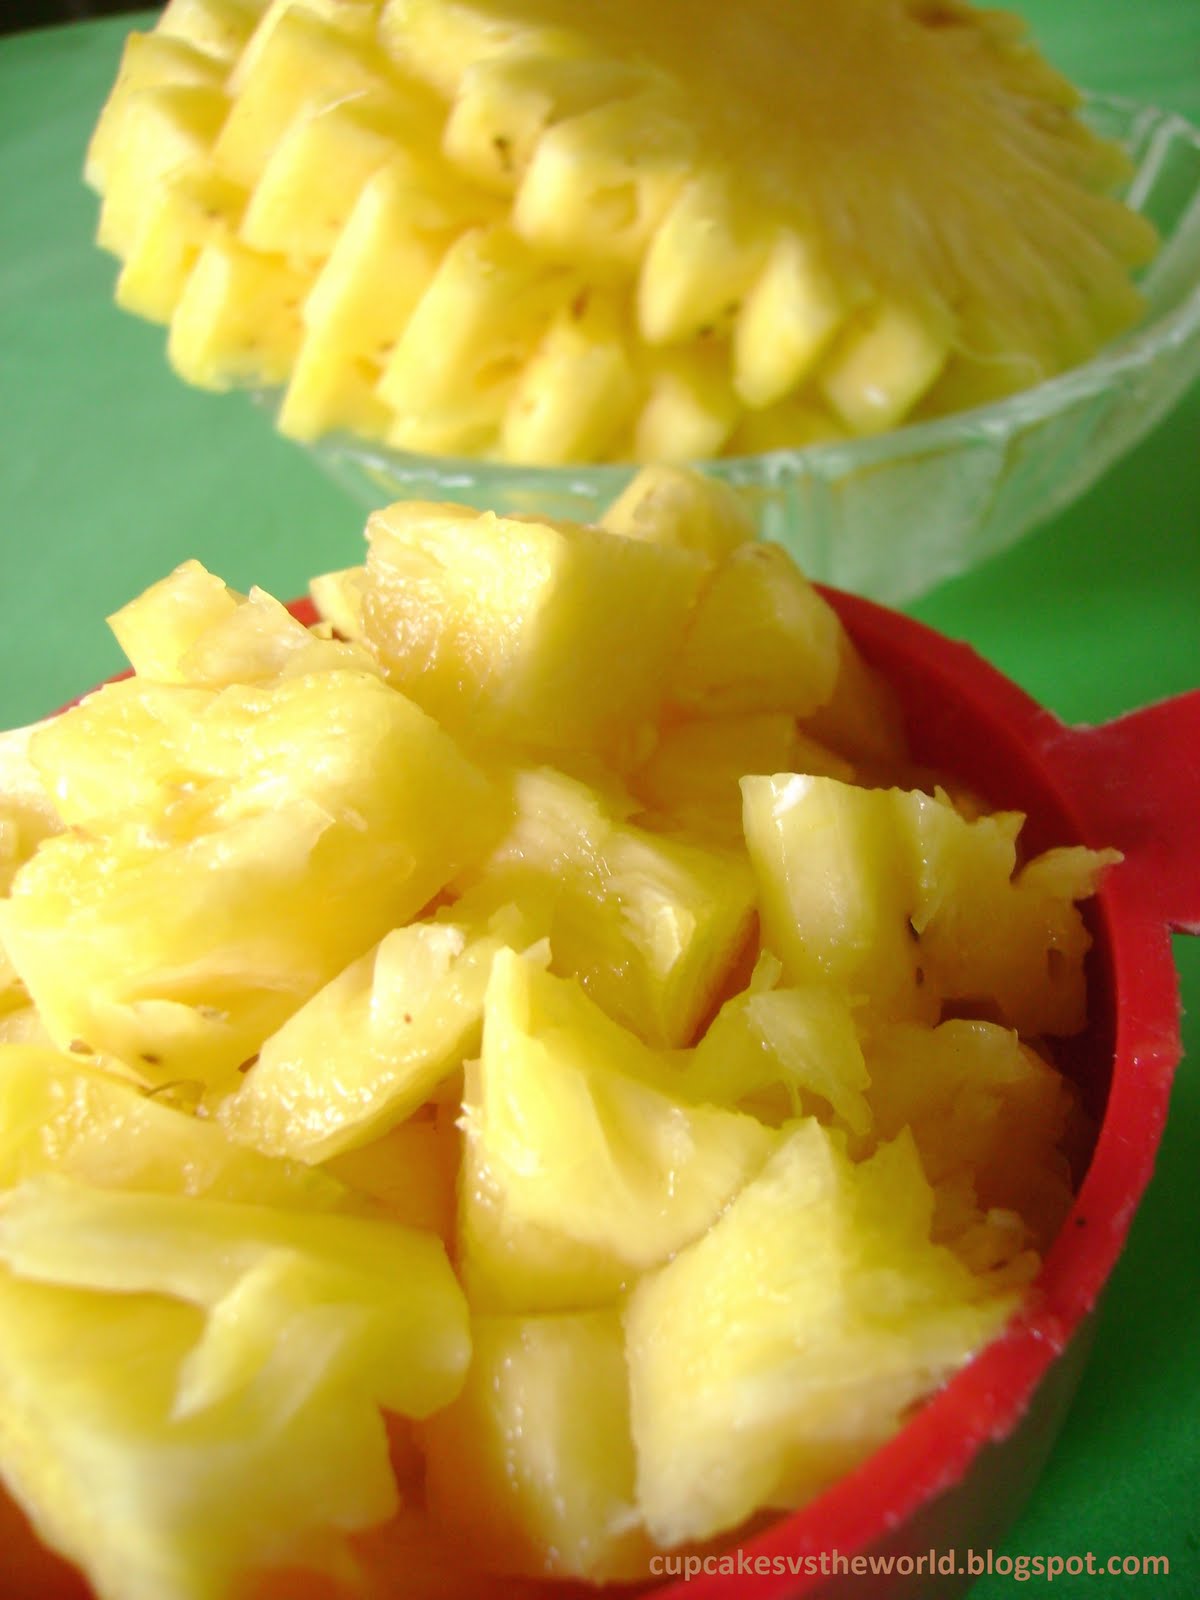
2 cups fresh pineapple chunks
8-10 tbsp. sugar
½ cup water
Directions:
To make the toasted coconut ice cream batter, heat the coconut in a 10- or 12-inch skillet over medium heat, stirring occasionally, until fragrant and light golden brown.  In a medium saucepan, combine the milk, 1 cup of the heavy cream, sugar, and salt.  Mix in the toasted coconut.  Split the vanilla bean, scrape the seeds into the milk, and add the pot to the saucepan.  Heat until the mixture is warmed through.  Cover, remove from the heat and let steep at room temperature for 1 hour.


Rewarm the coconut-milk mixture.  Set a fine mesh sieve over a bowl and strain the coconut-infused liquid into the bowl, pressing down with a spatula to extract as much flavor as possible.  Return the strained milk mixture to the now empty saucepan.  Discard the coconut and vanilla bean pod.  Wipe out the now empty bowl and add the remaining 1 cup heavy cream to the bowl.  Replace the mesh strainer over the bowl.  In a separate medium bowl, whisk together the egg yolks.  Slowly pour the warm coconut-infused mixture into the bowl with the egg yolks, whisking constantly.  Return the mixture back to the saucepan.  Stir constantly over medium heat until the mixture thickens and coats the spatula, reading 170-175˚ F on an instant read thermometer (do not go above 180˚ F!)  Remove from the heat and pour the custard through the strainer into the bowl with the heavy cream.  Mix in the rum or vanilla.  Let cool, then chill the mixture thoroughly in the refrigerator.
To make the pineapple sorbet batter, combine the pineapple, sugar and water in a blender or food processor.  Puree until completely smooth.  Chill thoroughly in the refrigerator.
To finish the ice cream, freeze both the coconut ice cream batter and the pineapple sorbet batter in an ice cream maker according to the manufacturer’s instructions.  Alternatively, freeze the batters one at a time in an ice cream maker and spread in alternating layers in a freezer-safe storage container.
Source: adapted from The Perfect Scoop by David Lebovitz


This icecream if fail proof.It also took a little long to set,so I recommend being ready to wait atleast 16 hours to gobble it up .However if I didnt hide one portion of the icecream to photograph,you would'nt have seen this picture!because it got over in approximately 9 minutes and 53 seconds!!


            Oh,and please,for the good of all mankind, MAKE DOUBLE THIS QUANTITY!

                                                                                              :)